Difference between revisions of "Screenshots VoIPBuster-config"
| Line 48: | Line 48: | ||
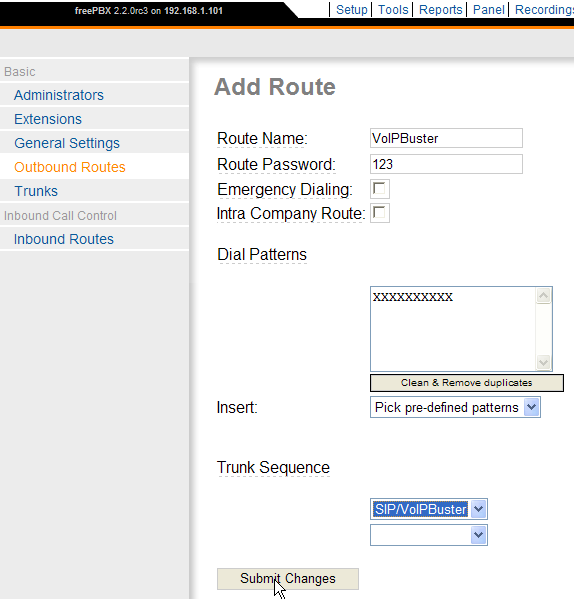
This route looks at the format of the number entered. | This route looks at the format of the number entered. | ||
"XXXXXXXXXX" matches a 10-digit number. (X equals [0-9], Z = [1-9] and N = [2-9]) | "XXXXXXXXXX" matches a 10-digit number. (X equals [0-9], Z = [1-9] and N = [2-9]) | ||
| + | See also the [[Dial-patterns]]. | ||
[[Image:screenshot_FreePBX_Setup_add_outbound_route.png]] | [[Image:screenshot_FreePBX_Setup_add_outbound_route.png]] | ||
Latest revision as of 10:54, 23 January 2007
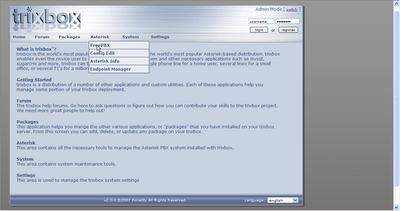
The start-page of the Trixbox web-interface: (default-login: user:maint pass:password)
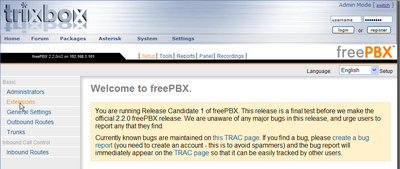
On the FreePBX setup-page, you'll have to setup one or more extensions (SIP-phones)
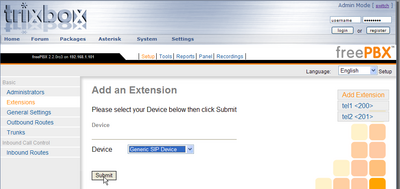
Select the right type of device (Generic SIP Device) and press Submit.
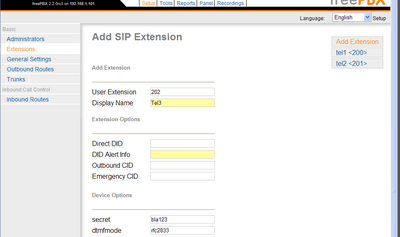
Choose a number for your SIP-device (We started counting from "200") and a proper Display Name (e.g. name of person using that device) Also fill in the password ("secret") for that device to initialize. Leave the rest as default for now.
After making changes, you'll have to apply the new settings. Go to the Setup-menu and press the large red button:
And also the following alert.
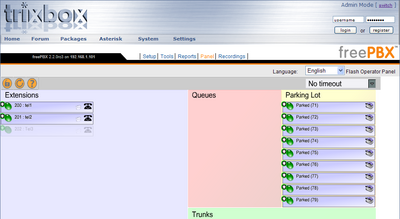
In the FreePBX-panel-window, all extensions can be viewed. Not available (not logged on) SIP-phones will appear faded, as can be seen on the screenshot.
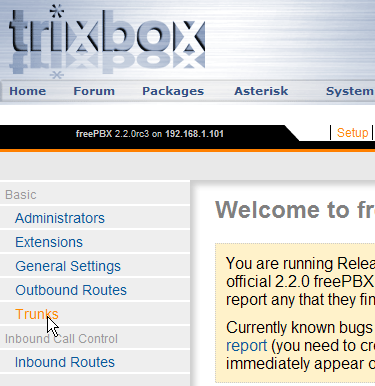
To use external services, like VoIPBuster, you'll have to define a Trunk. Go to "Trunks" in the Setup menu.
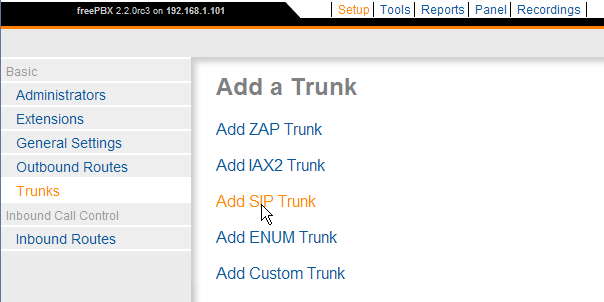
Since we're using a SIP-service from VoIPBuster, use "Add SIP Trunk".
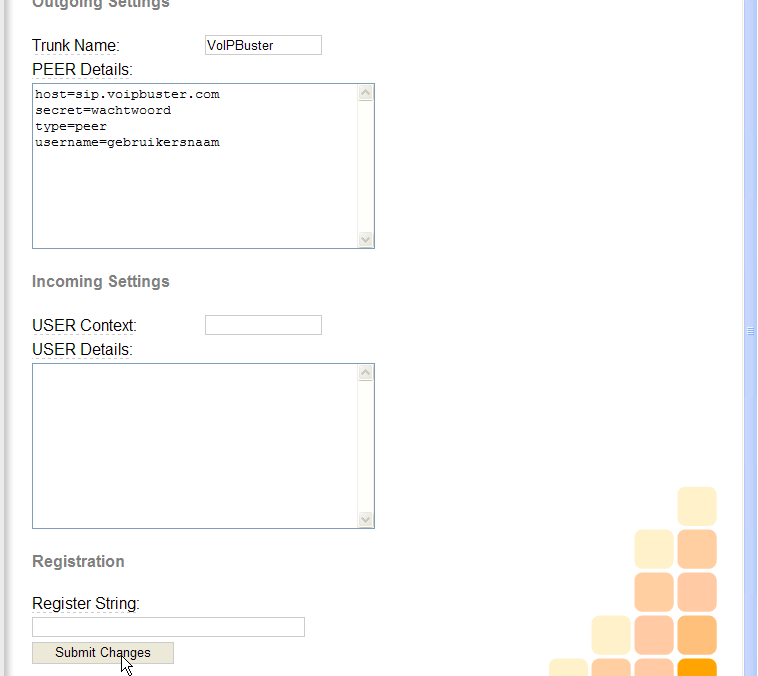
Use the settings you've created when registering with VoIPBuster. Leave the rest as default and click on the "Submit Changes"-button.
To reroute certain calls through VoIPBuster, you have to create a route. This route looks at the format of the number entered. "XXXXXXXXXX" matches a 10-digit number. (X equals [0-9], Z = [1-9] and N = [2-9]) See also the Dial-patterns.
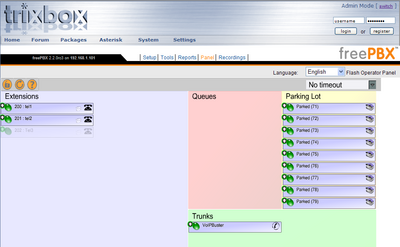
In the Panel display, the trunks are now displayed.
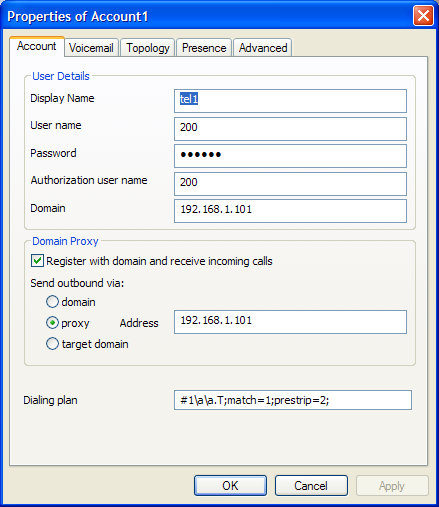
The SIP-configuration of X-lite is as follows. The Display-name, Username (extension-code) and password are the ones you've created earlier while creating extensions.
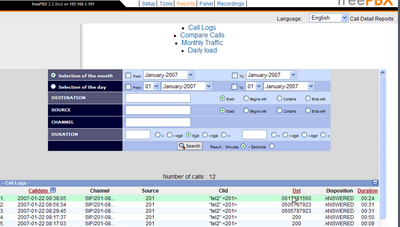
After you've made some calls, you can review them in the Reports-section of FreePBX.
